The Secret to Better-Looking, Longer-Lasting Outdoor Woodwork: Sanding Wood Before Staining
When it comes to exterior wood projects—whether it’s a deck, fence, or outdoor furniture—the difference between good and great often comes down to one simple, often overlooked step: sanding.
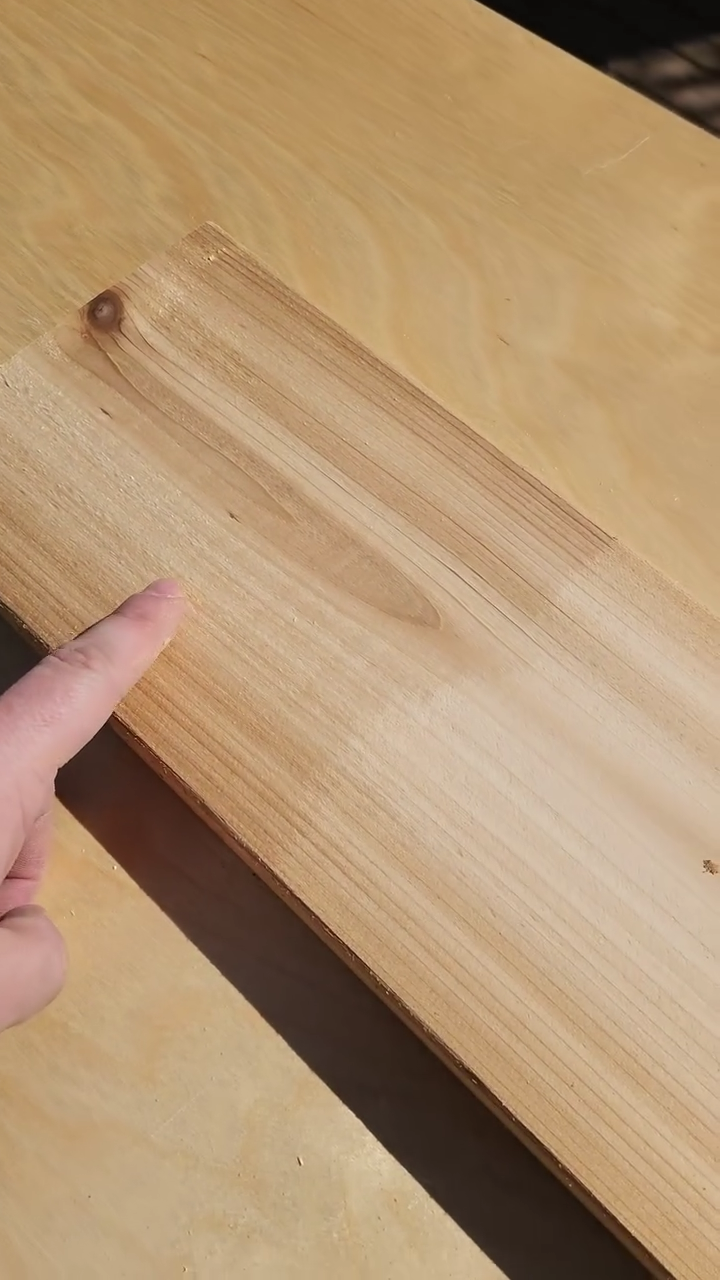
You might think a premium piece of cedar decking from the hardware store is ready to finish right out of the gate. After all, it looks smooth and clean, right? But take a closer look and you’ll likely see mill glaze, small dents, rough tear-out from the planer, or surface grime. These imperfections aren’t just cosmetic—they actively prevent your stain or oil from doing its job. This is why sanding wood before staining is the most important step in wood finishing.
What Is Mill Glaze, and Why Does It Matter?
Mill glaze is a hard, shiny surface that forms on wood during the milling process. It looks slick and polished—but it’s actually bad news for finish adhesion. That sheen is like a barrier, keeping your stain or oil from properly soaking into the wood. The result? A finish that sits on top of the surface, wears unevenly, and breaks down much faster.

The Visual Difference: Sanded vs. Unsanded
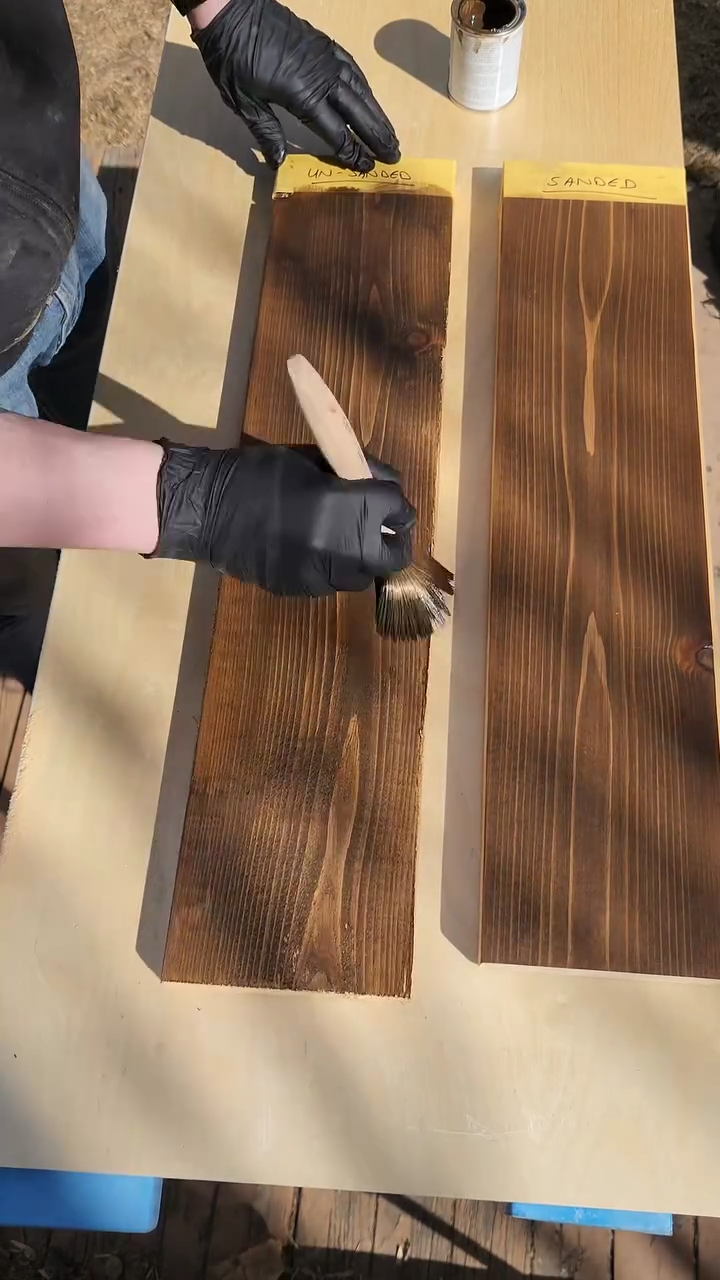
Try placing a sanded board beside an unsanded one. Even before finishing, the contrast is clear. The sanded board looks smoother, more even, and feels better to the touch. Once you apply stain—especially something like a rich, one-coat-only walnut—you’ll see a night-and-day difference in how the finish absorbs and how the colour appears.
How to Properly Sand for Exterior Projects
Thankfully, sanding outdoor wood isn’t too complicated. For more details on proper sanding technique and requirements, scroll to the “Sanding requirements for exterior wood” section on our Sanding Preparation page.

Why It Matters Long-Term
Sanding isn’t just about aesthetics—it’s about performance. By opening up the wood grain and removing contaminants, you’re helping your finish adhere better and absorb deeper. That means:
- Richer, more even colour
- Better protection from the elements
- A finish that lasts longer and requires less maintenance
The Final Step: Apply a Thin Coat of Stain
Once sanded, apply a thin, even coat of your exterior finish—such as a one-coat-only walnut stain. You’ll notice immediately how much more evenly the stain goes on and how much better it looks compared to an unsanded board.
TL;DR: If you want your outdoor wood projects to look amazing and last longer, don’t skip the sanding. Sanding can completely transform your results and make all the difference in the longevity of your finish.
Action Step: Before you stain, sand with the recommended grit for your wood type. You—and your outdoor space—will thank you later.
Watch Our Video on How to Improve the Look of Exterior Woodwork
Before you dive into staining or finishing your exterior wood projects, there’s one simple step that makes all the difference—and it’s often skipped. Sanding might not be the most glamorous part of the process, but it’s the key to unlocking richer colour, smoother application, and a longer-lasting wood finish.


